

We recently celebrated my baby’s first birthday party. There’s something particularly special about that first birthday, isn’t there? The transition from baby to toddler, the opening up of so many new food options (hello whole milk and honey!), and the step up to the 12-18 month wardrobe. Who am I kidding, all my little ones were in that size by 8 months (thank you all-night nursing).

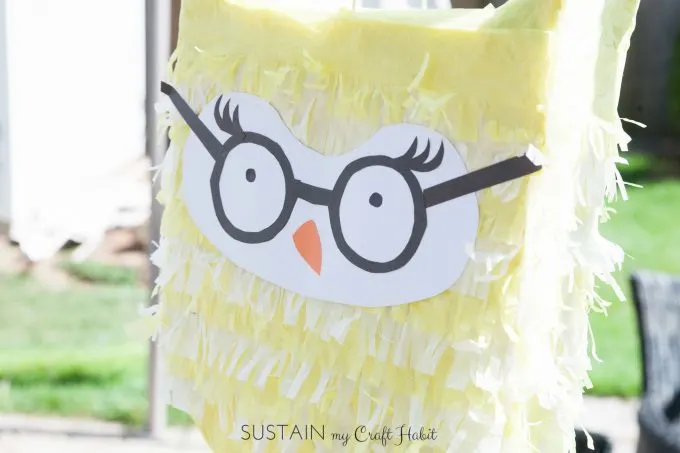
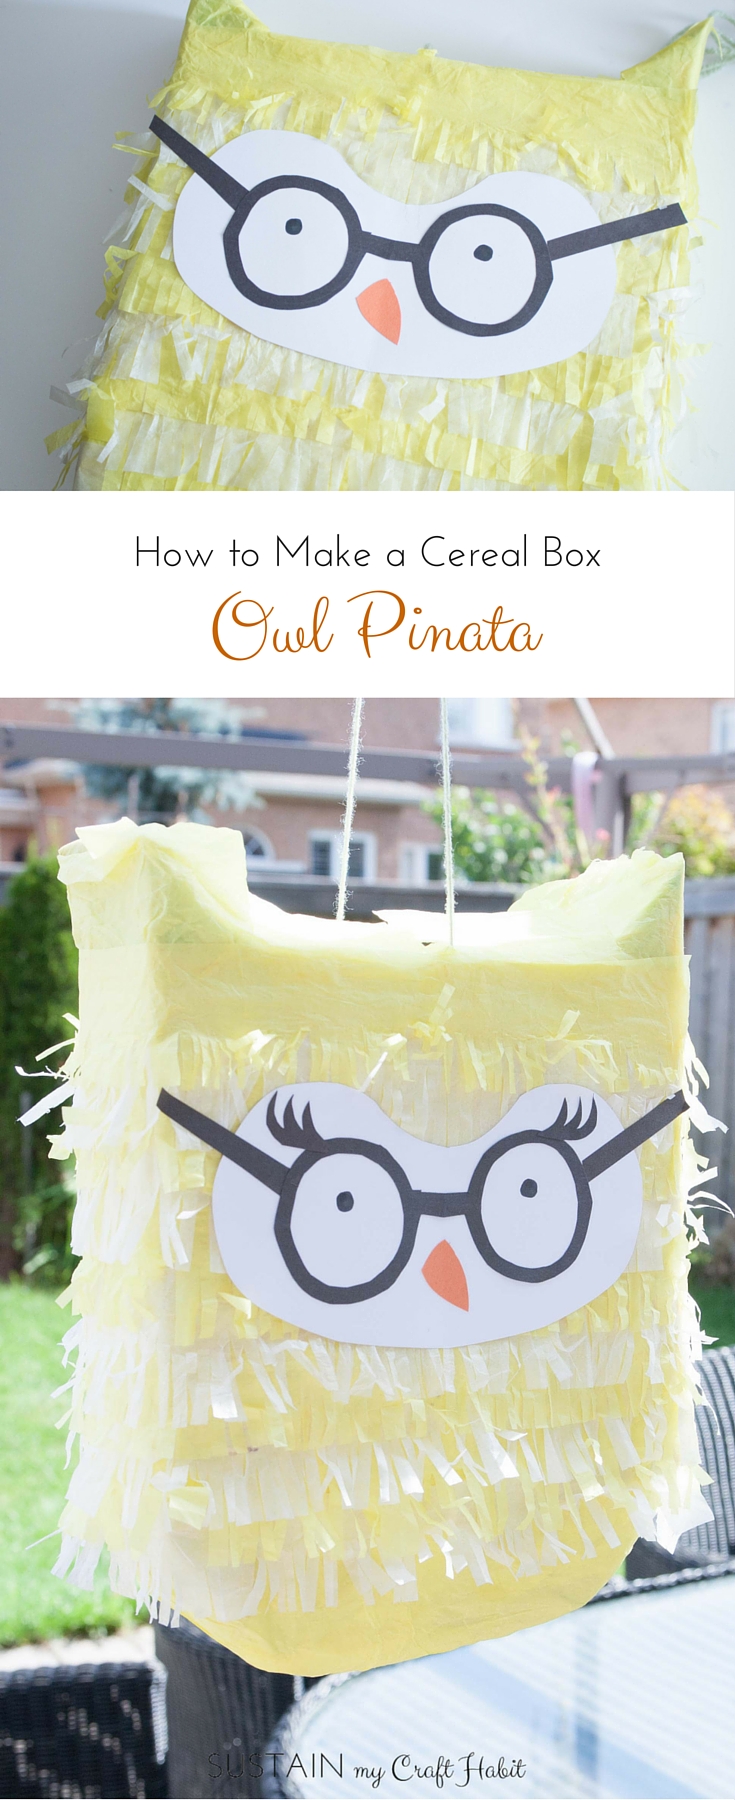
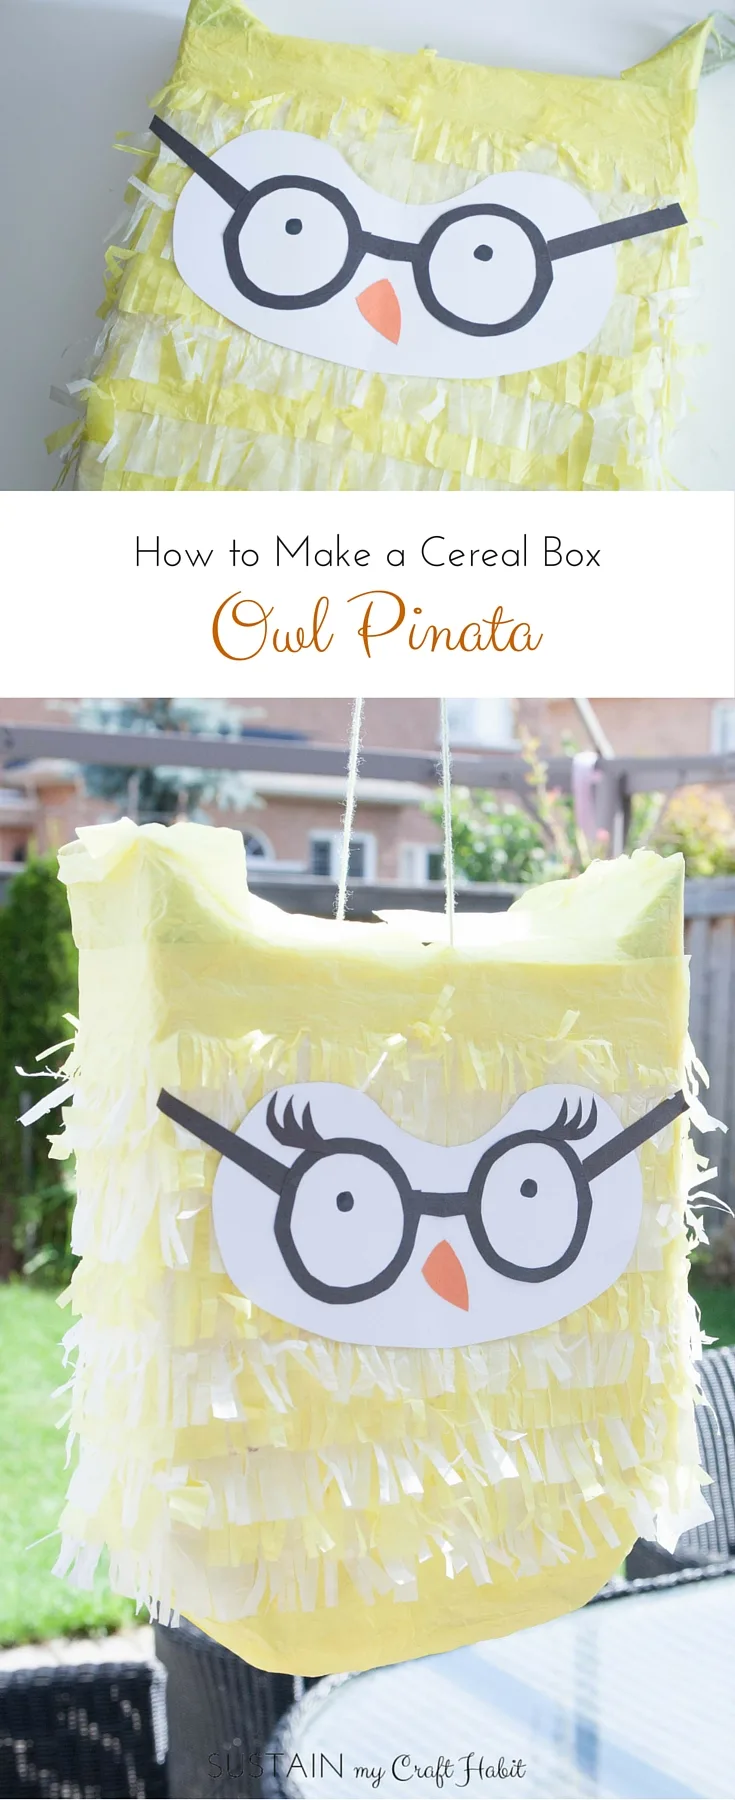
To celebrate this milestone we held a fun owl-themed birthday party. With mainly girls in the family I was princessed-out and thought some woodland decorations would be a nice change. And what kind of party would it be without a birthday pinata? Now I didn’t start out planning to make the owl pinata but after a quick trip to the store I 1) couldn’t find and owl pinata, and 2) didn’t want to pay $20 for another random design. So I headed home, grabbed a cereal box and made our own yellow owl birthday pinata.
What you’ll need to Make an Owl Pinata
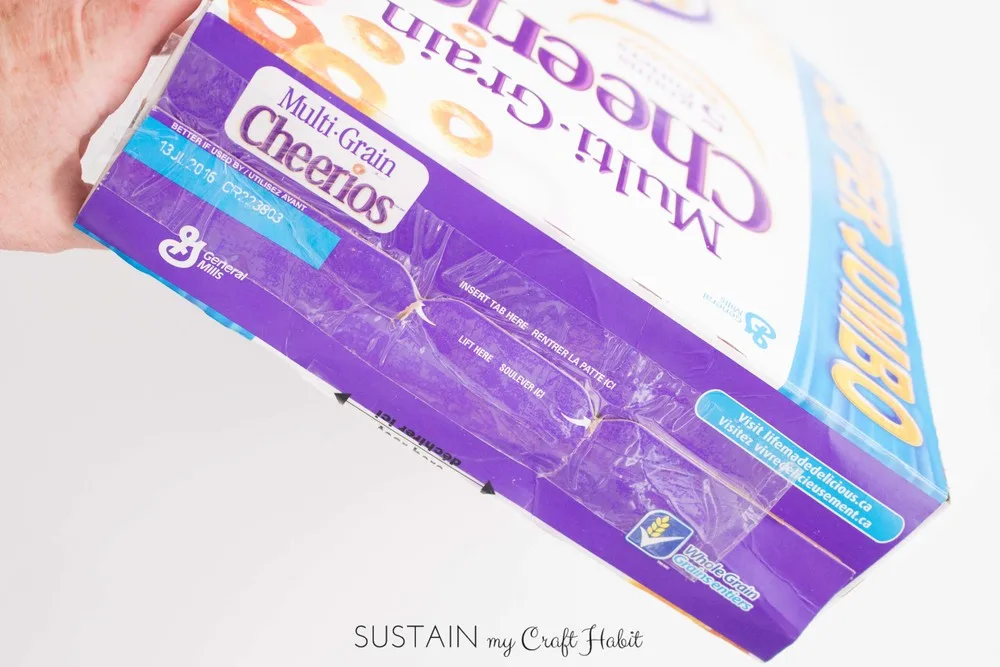
- 1 medium-sized empty cereal box
- Large sheet of white paper to wrap the box in so the writing doesn’t show through (e.g. craft paper, packaging paper, gift wrap, flipboard paper)
- Yellow and white tissue paper (two sheets of each)
- Scraps of white, black and orange construction paper
- Scissors, knife, packing tape, glue stick
- Printable owl pinata template
To Assemble the Owl Pinata
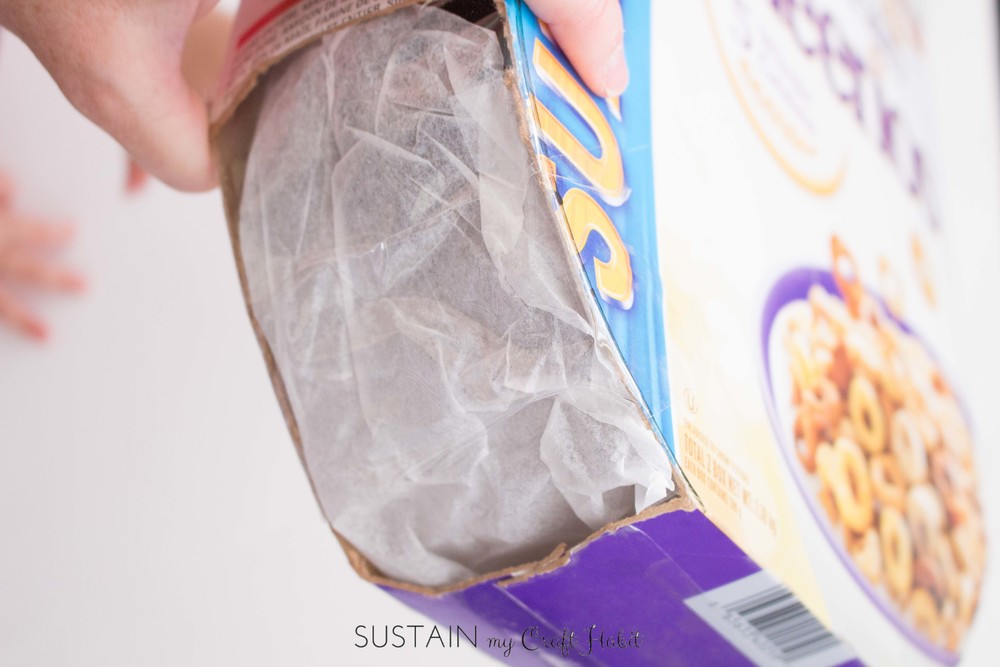
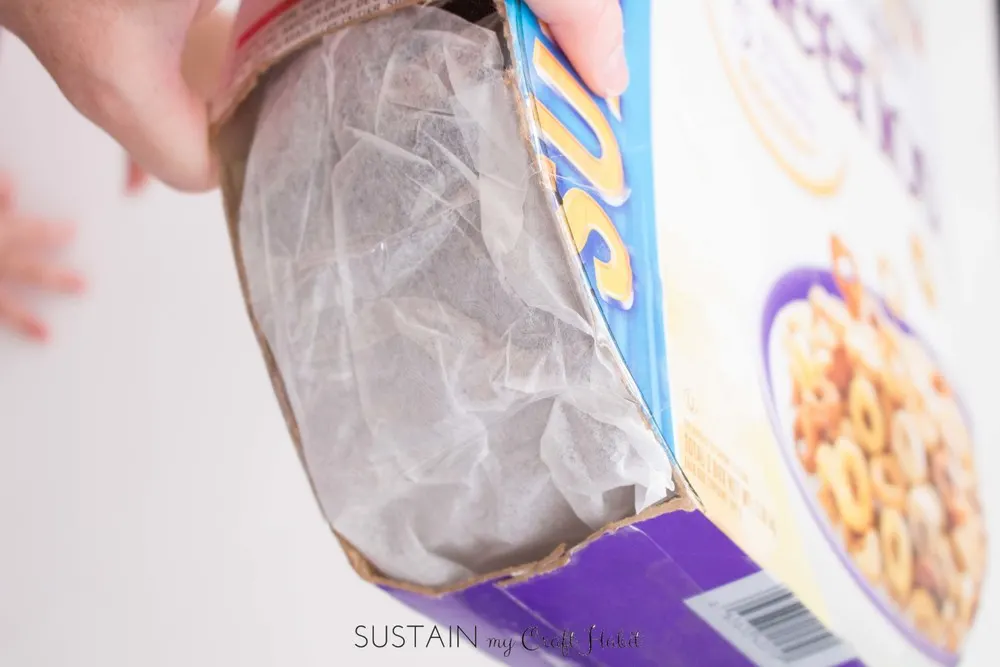
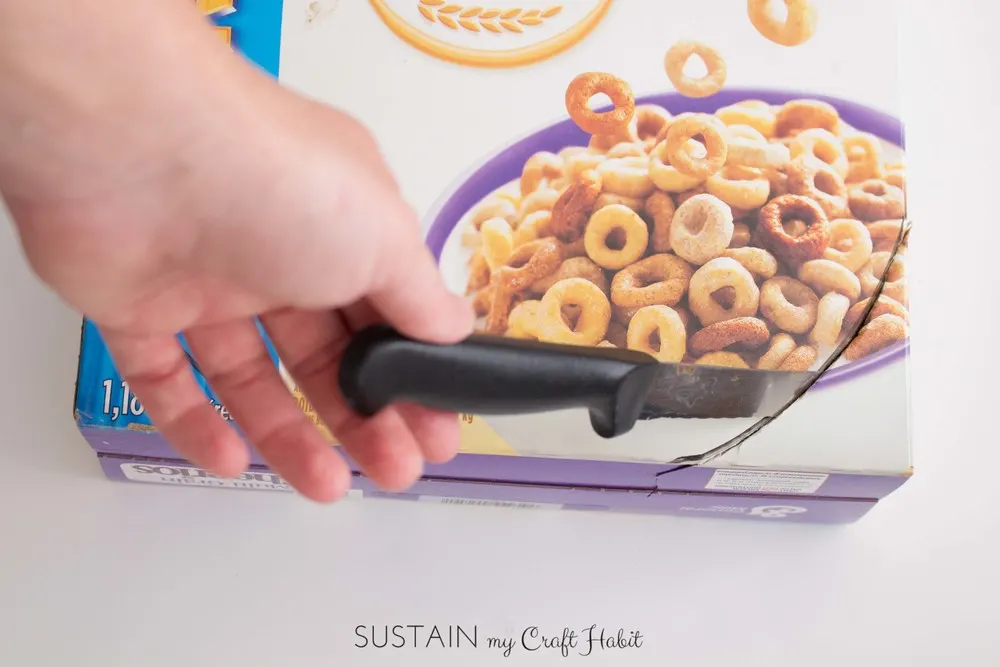
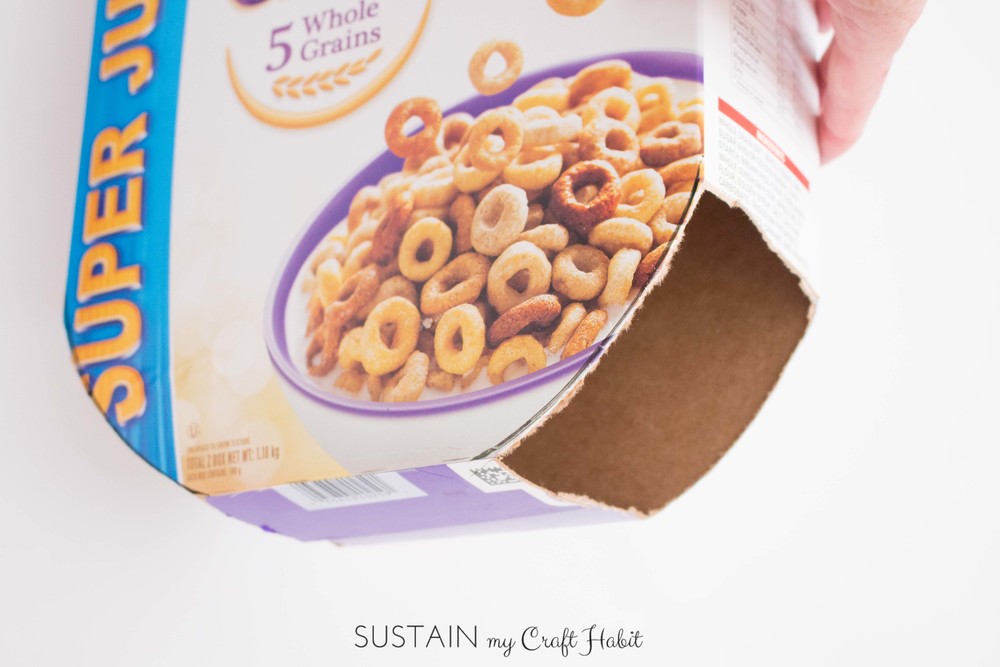
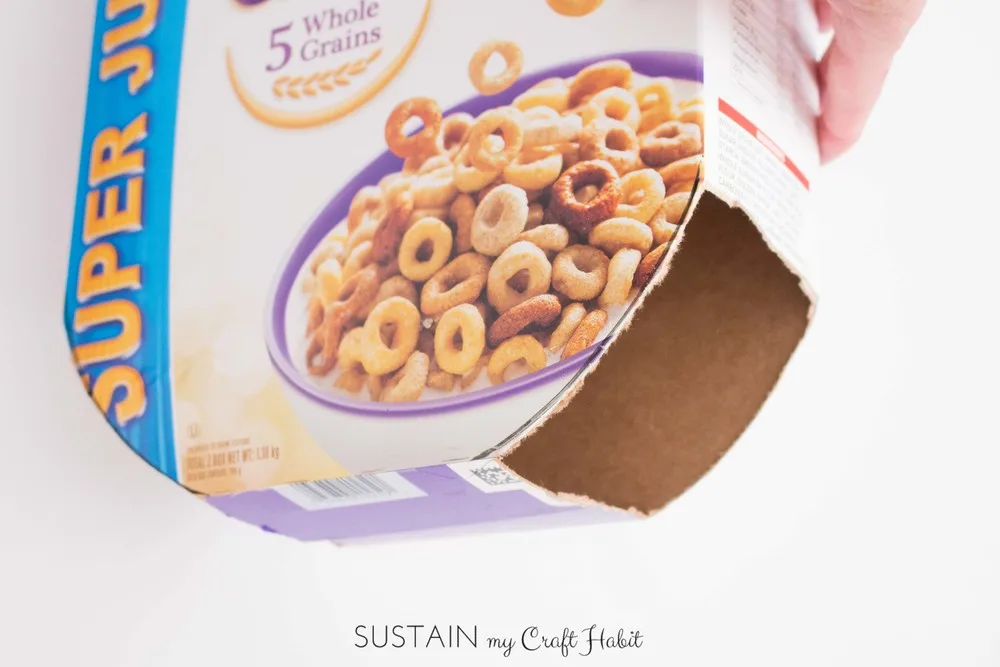
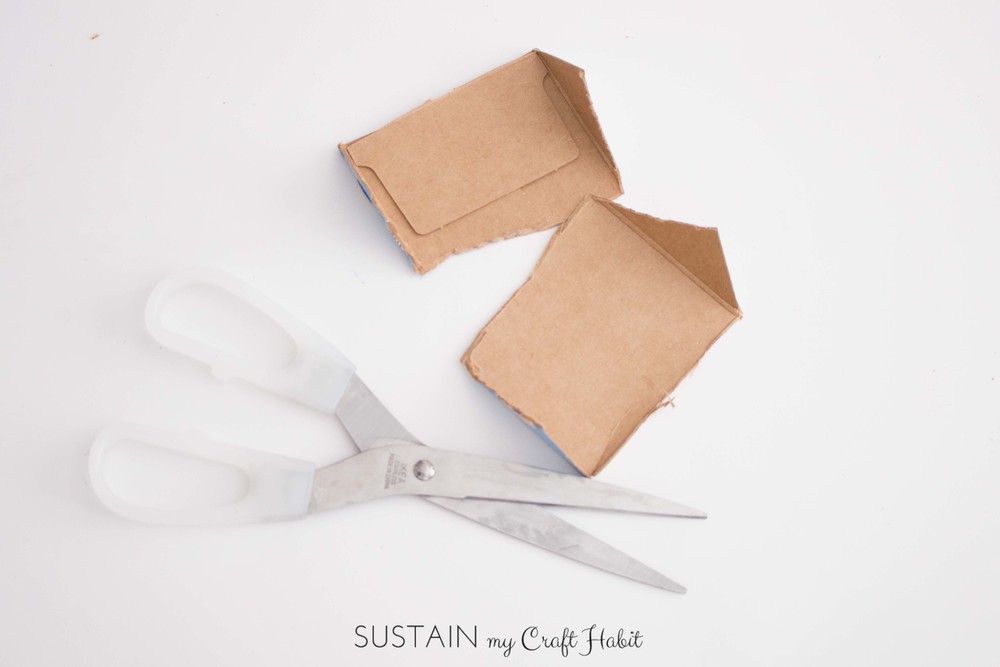
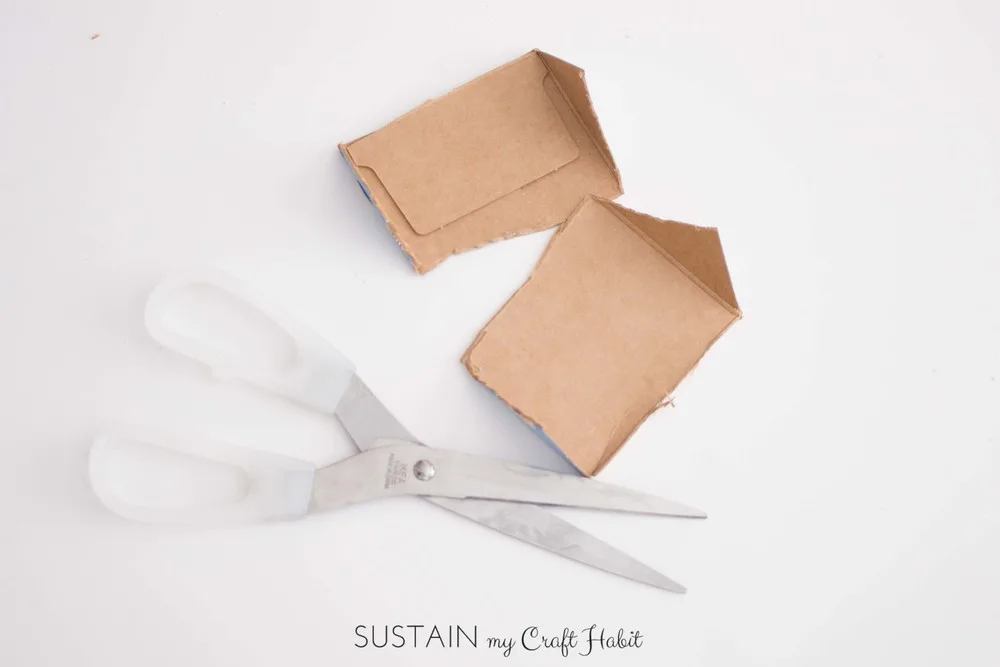
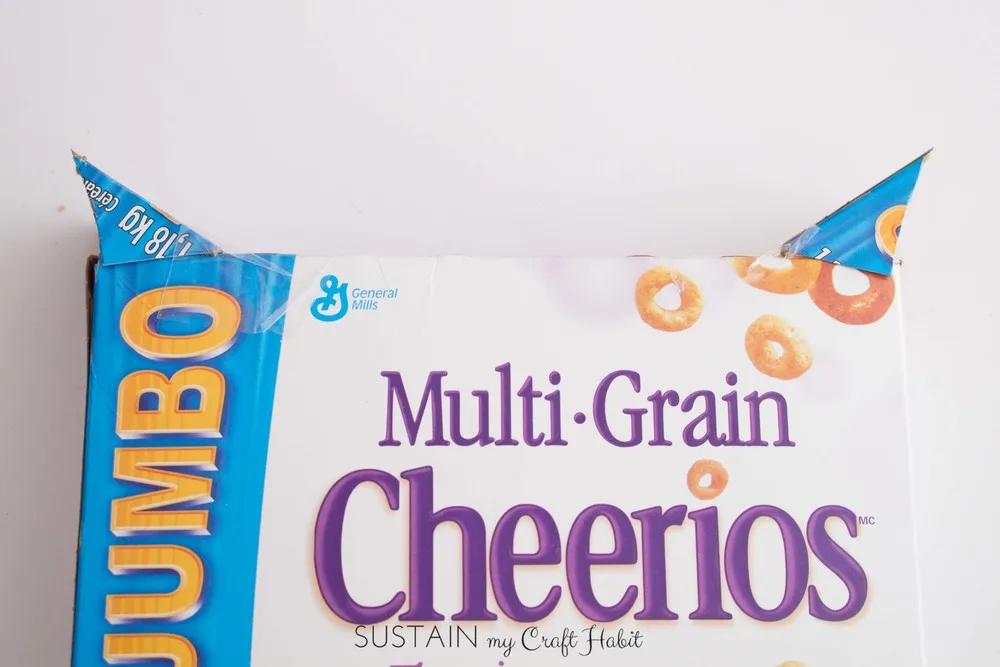
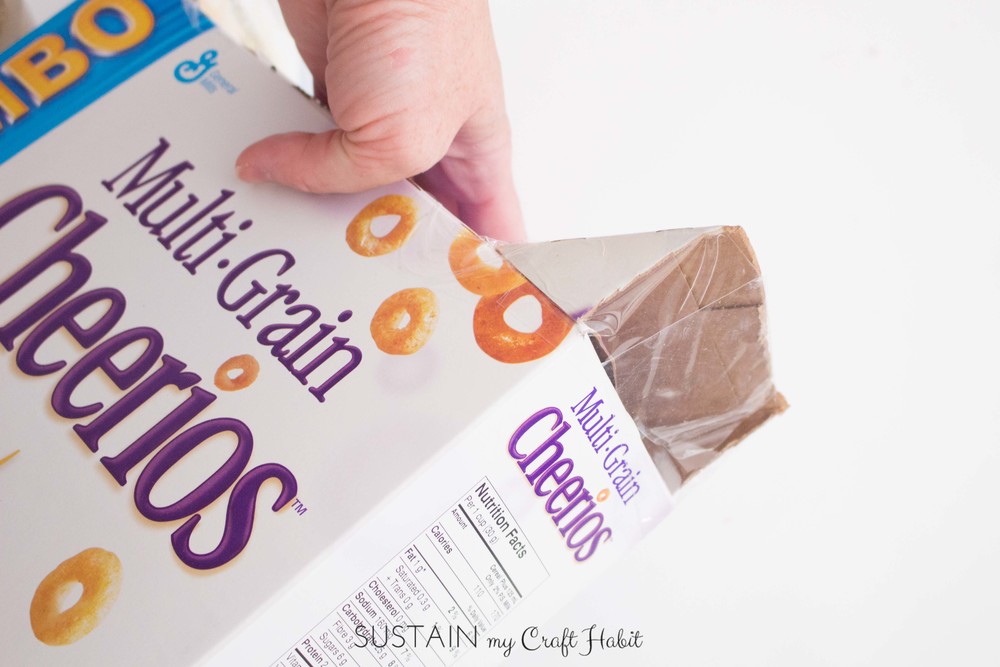
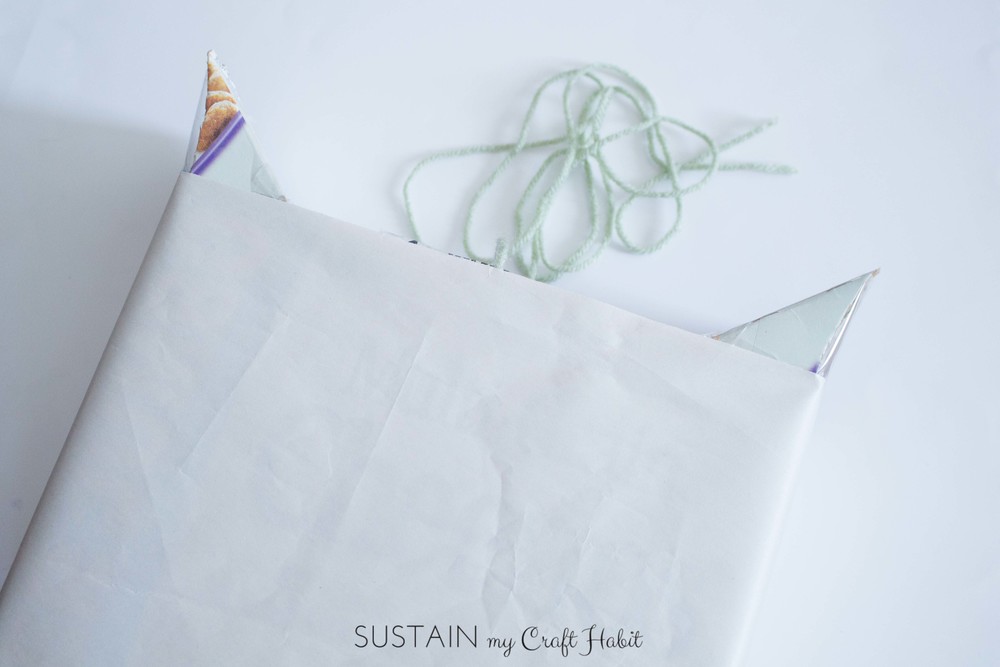
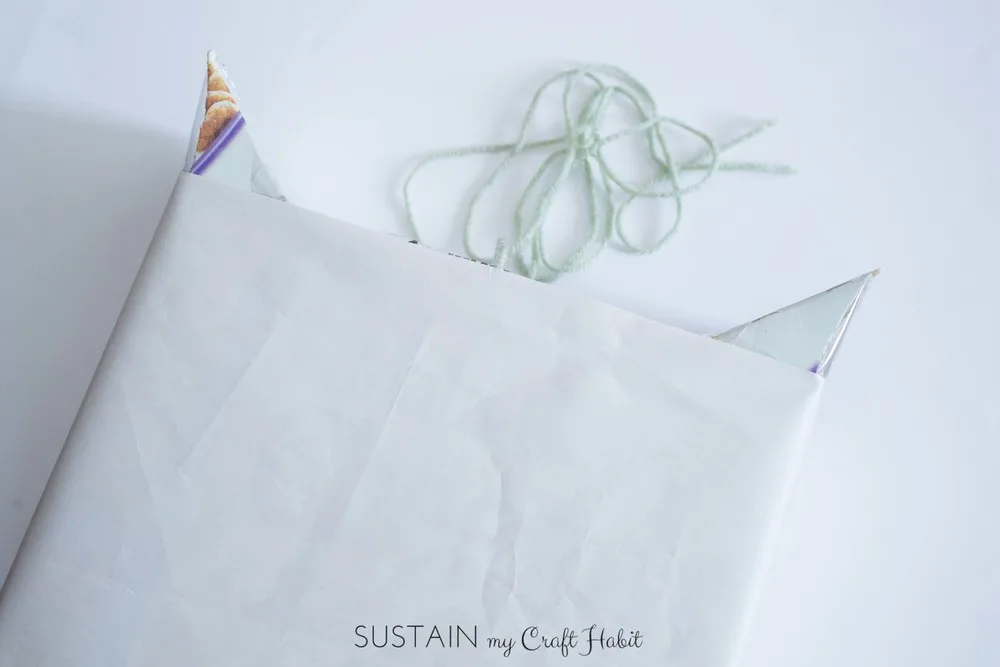
1. Use a round plate to mark off the bottom corners of the cereal box to make them rounded. With a knife, cut off the corners along the marked lines. Tuck some tissue paper into the openings and close off with packing tape. The tissue paper will keep the contents of the pinata from sticking to the tape.


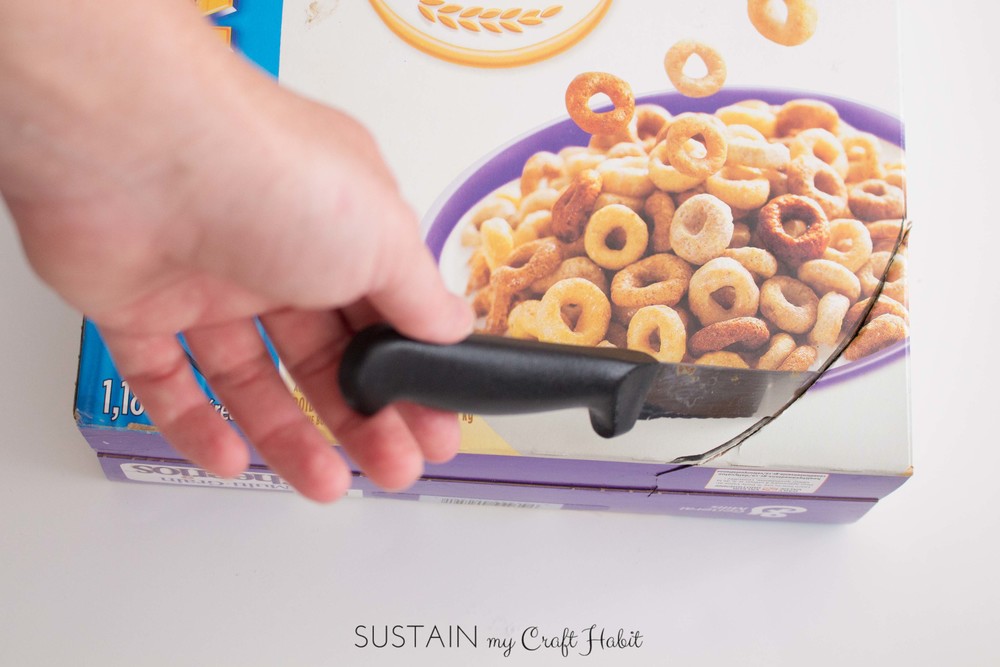
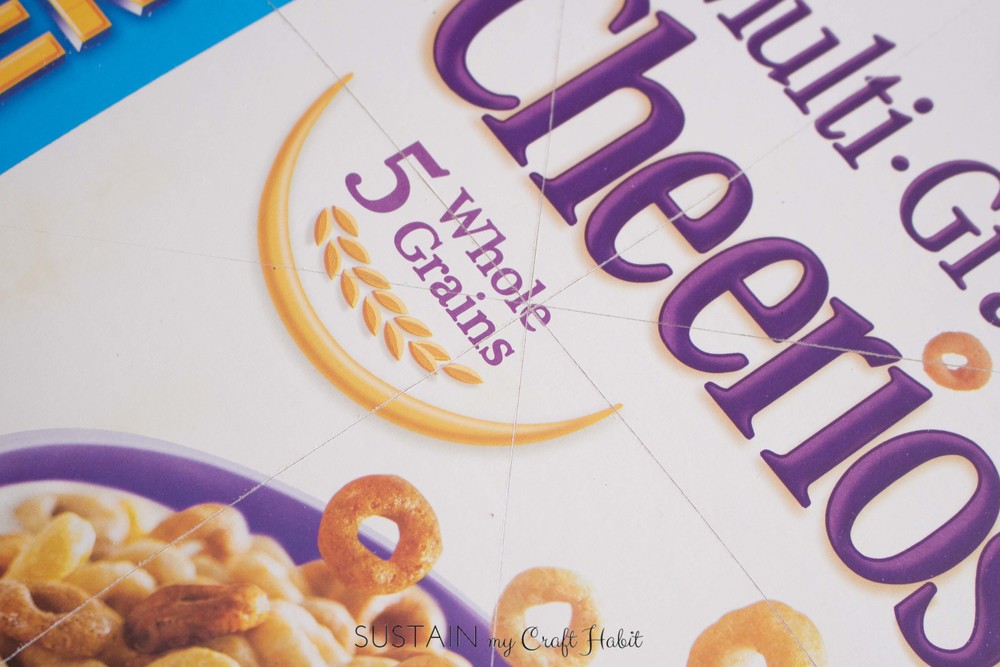
2. The cereal boxes are actually pretty difficult to break through. If you will be having a lot of little kids trying to open it, make some score lines in the box with the knife to help it open up. Fill the box with your favors of choice (e.g. stickers, erasers, candies, small toys, coins, etc.) and tape closed the top of the box.

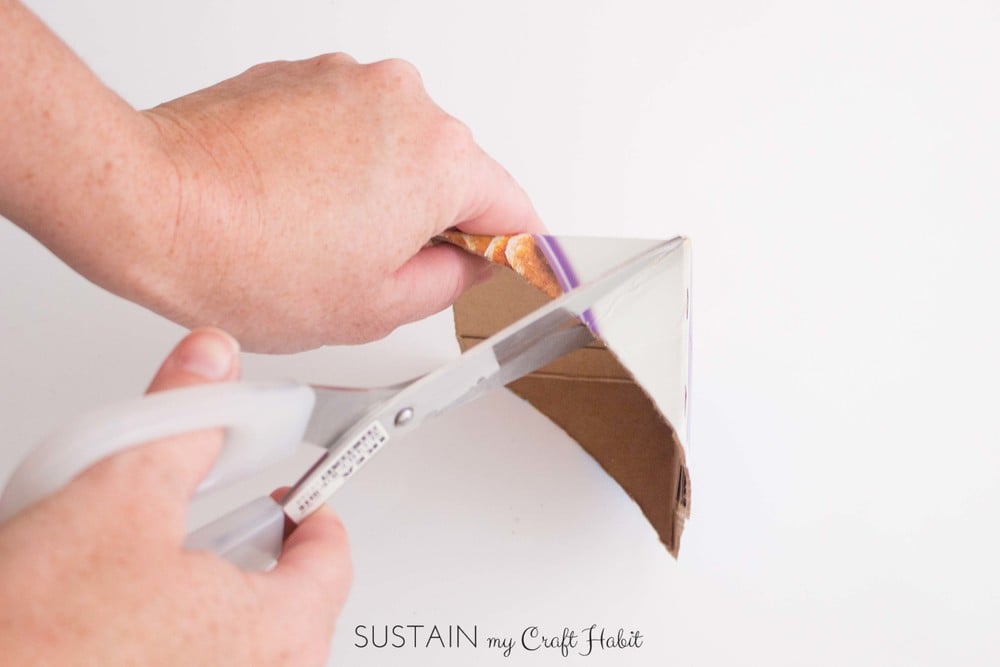
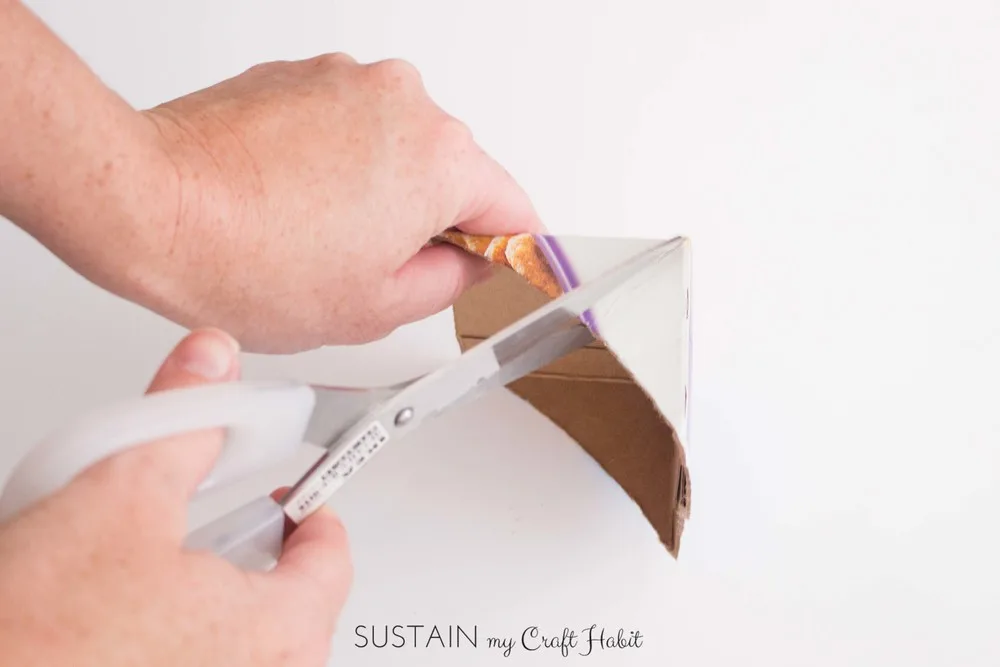
3. To make the owl’s ears, cut in half one of the corner pieces that you had taken off the bottom of the box. This will make two triangle-shaped pieces. Tape one to each of the top corners of the box as shown.


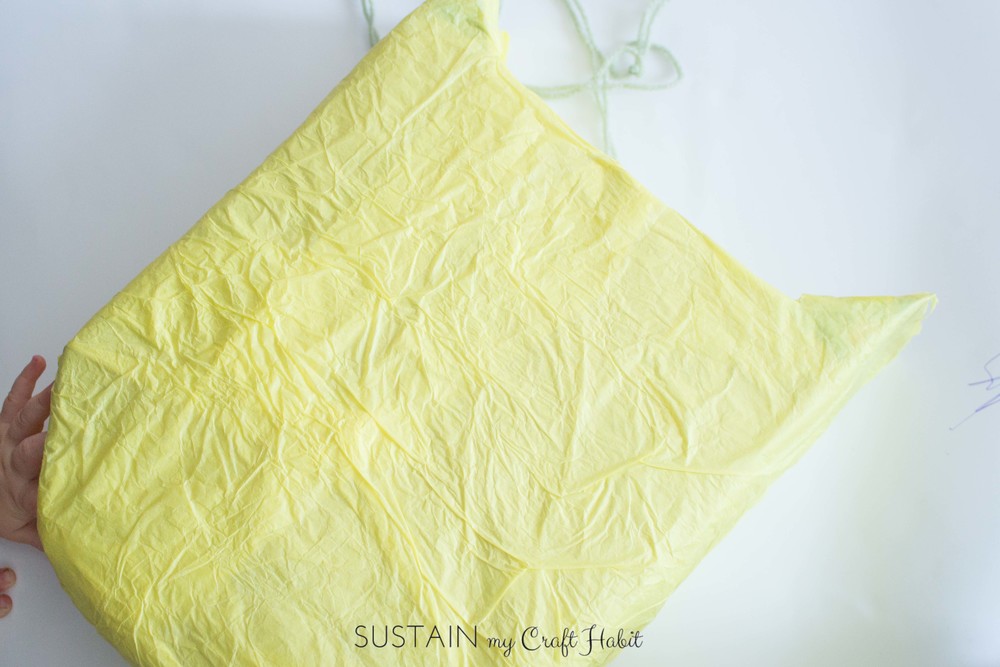
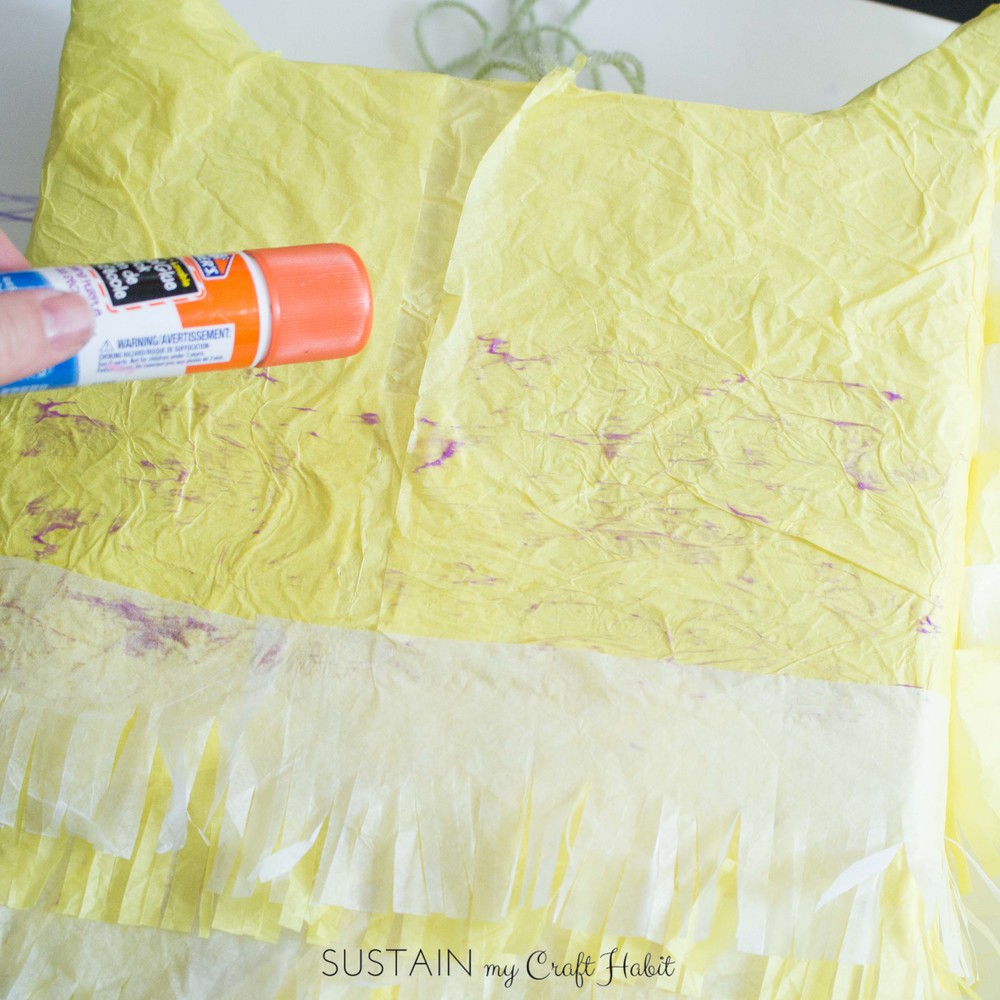
4. Wrap a long piece of yarn around the box lengthwise two times and tie it together at the top leaving sufficient length of yarn with which to hang the pinata. (Note that I had originally just poked a set of holes through the top of the box. However, the yarn cut through the box after a few hits and fell 🙁 ). Tape the yarn to the box in a couple of places. Wrap the entire box with the white sheet of paper and glue in place. Wrap again with one sheet of yellow tissue paper.

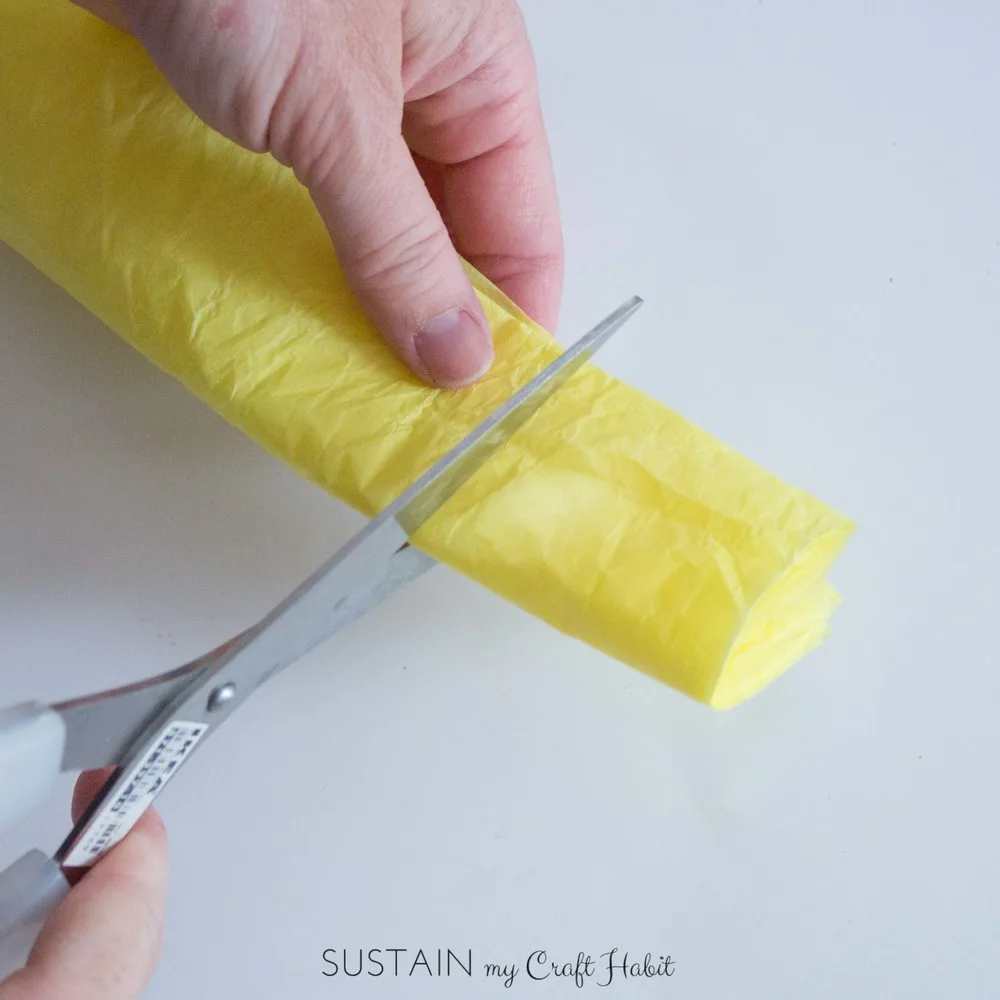
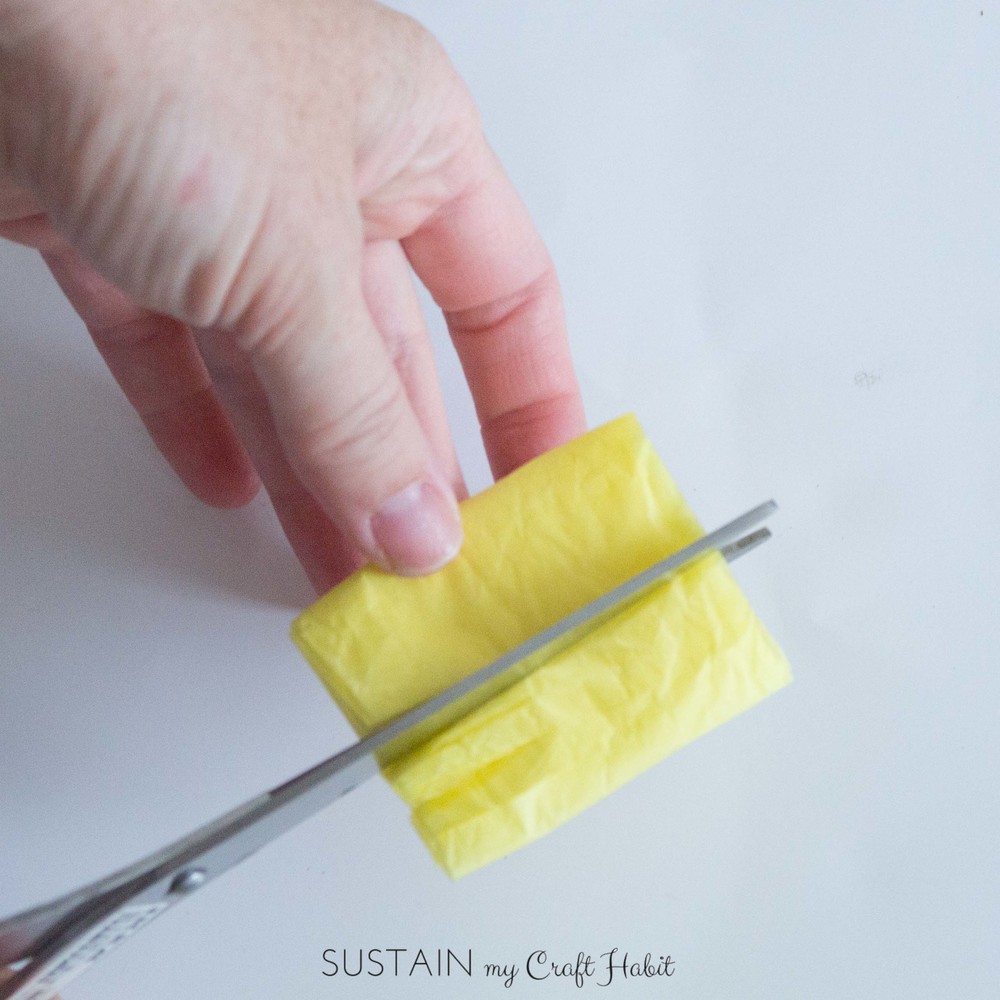
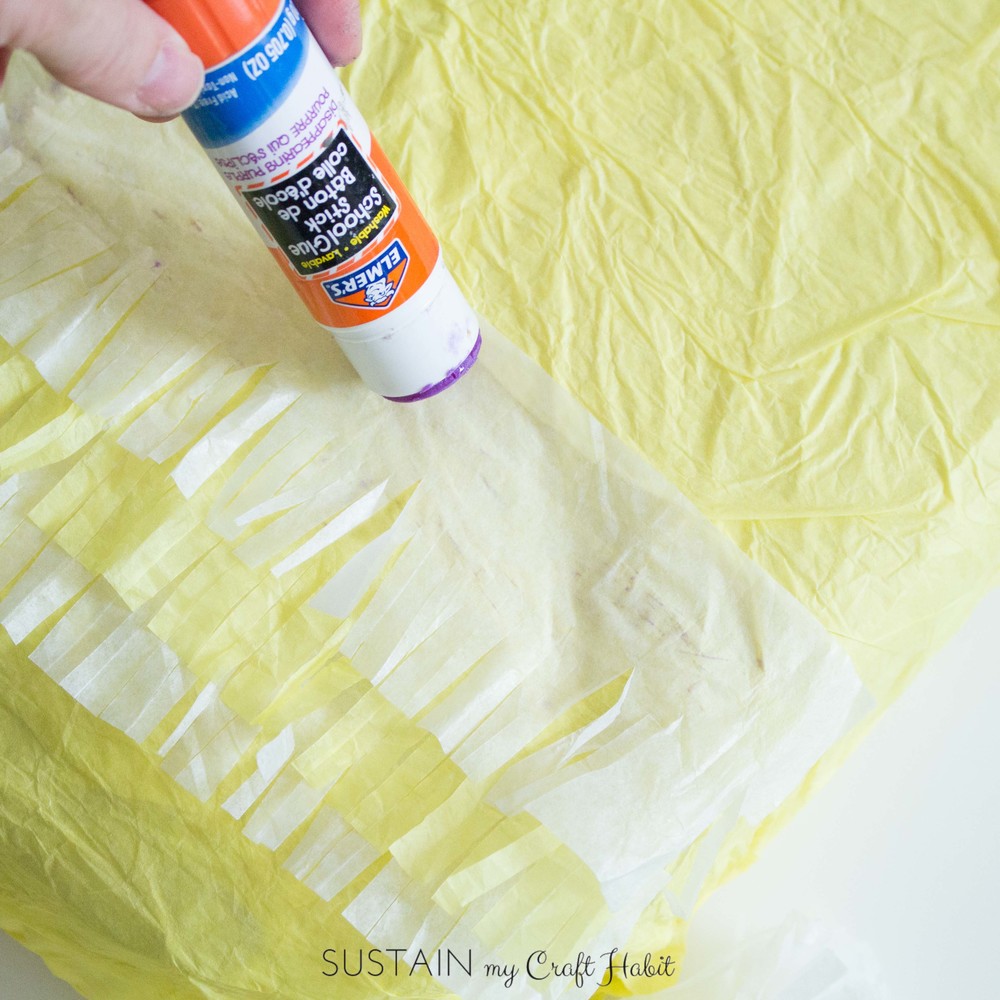
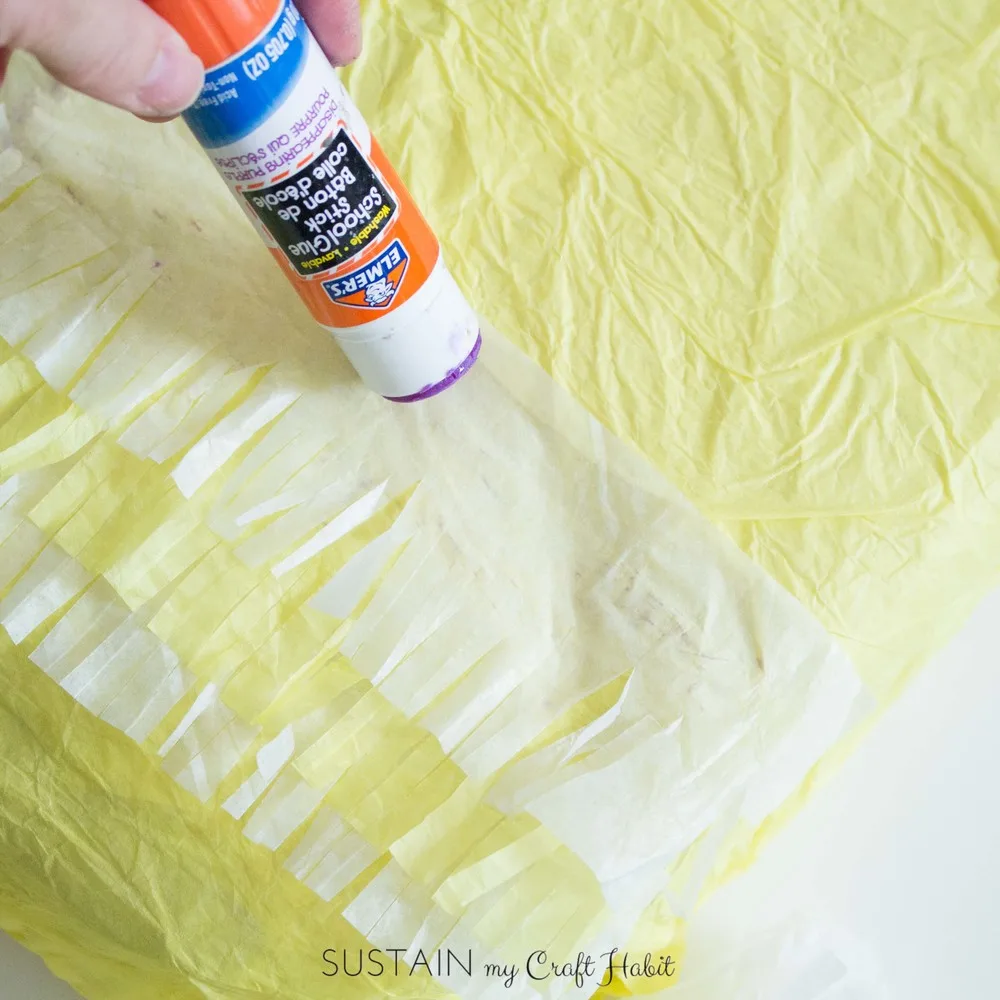
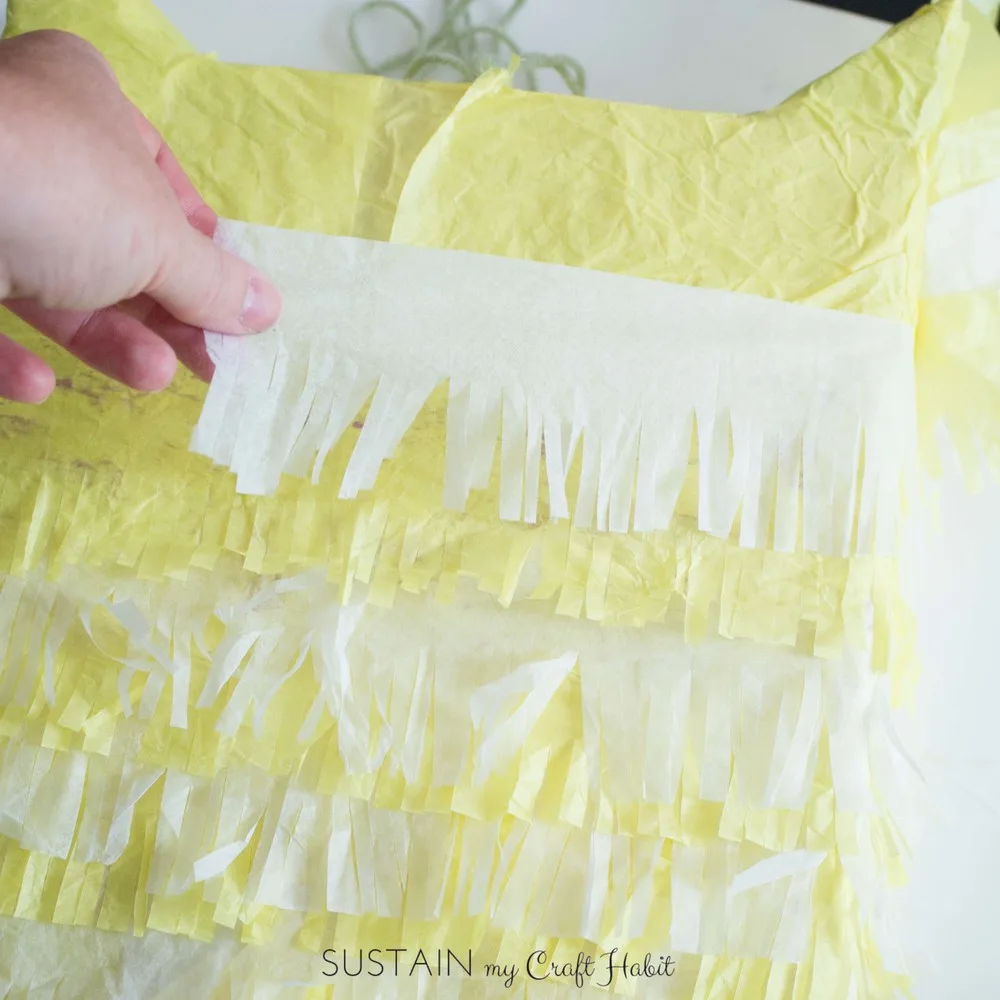
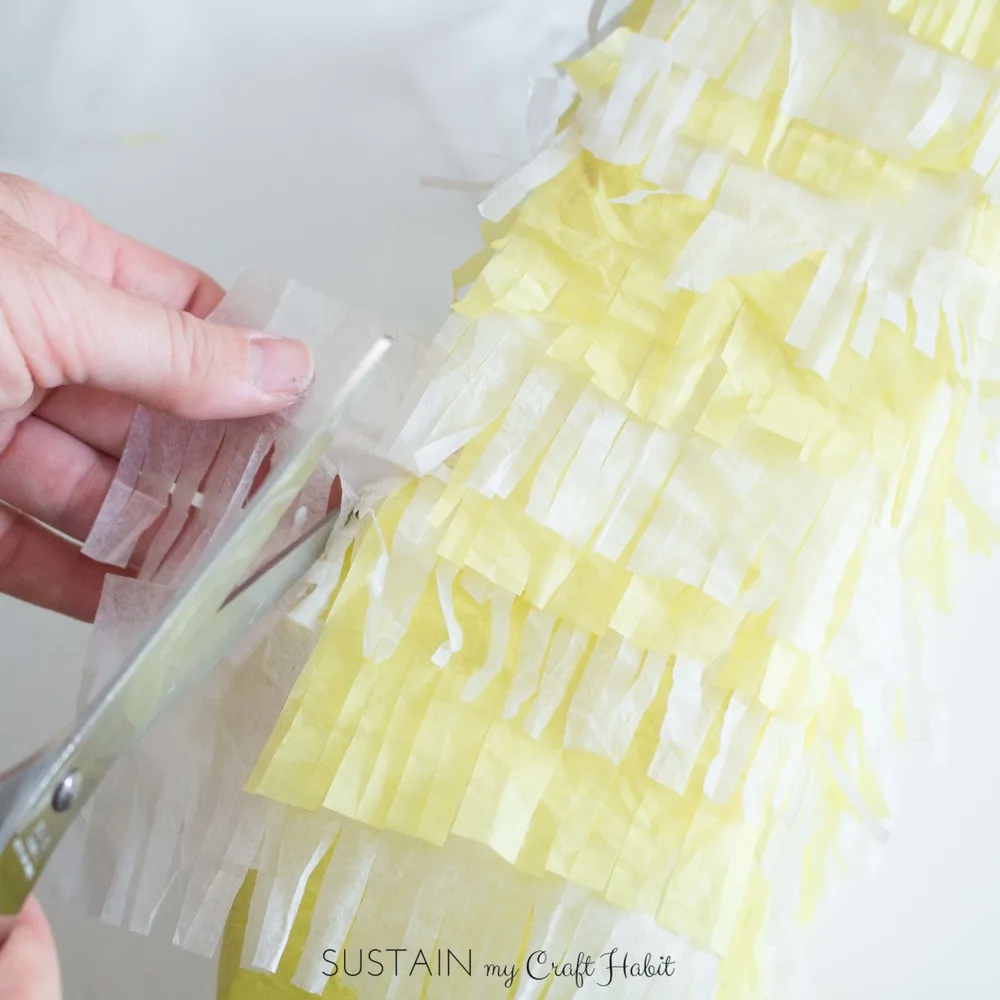
5. Make the fringes for the owl with the tissue papers: Fold the sheet of paper lengthwise about four times to create a long strip. Cut the strip into approximately 1.5 inch sections. Cut fringes along one of the unfolded edges. Open up the strips. Starting at the bottom of the box glue the strips, one at a time, alternating between yellow and white until the entire box is covered. With each row, trim the excess when you get to the end.


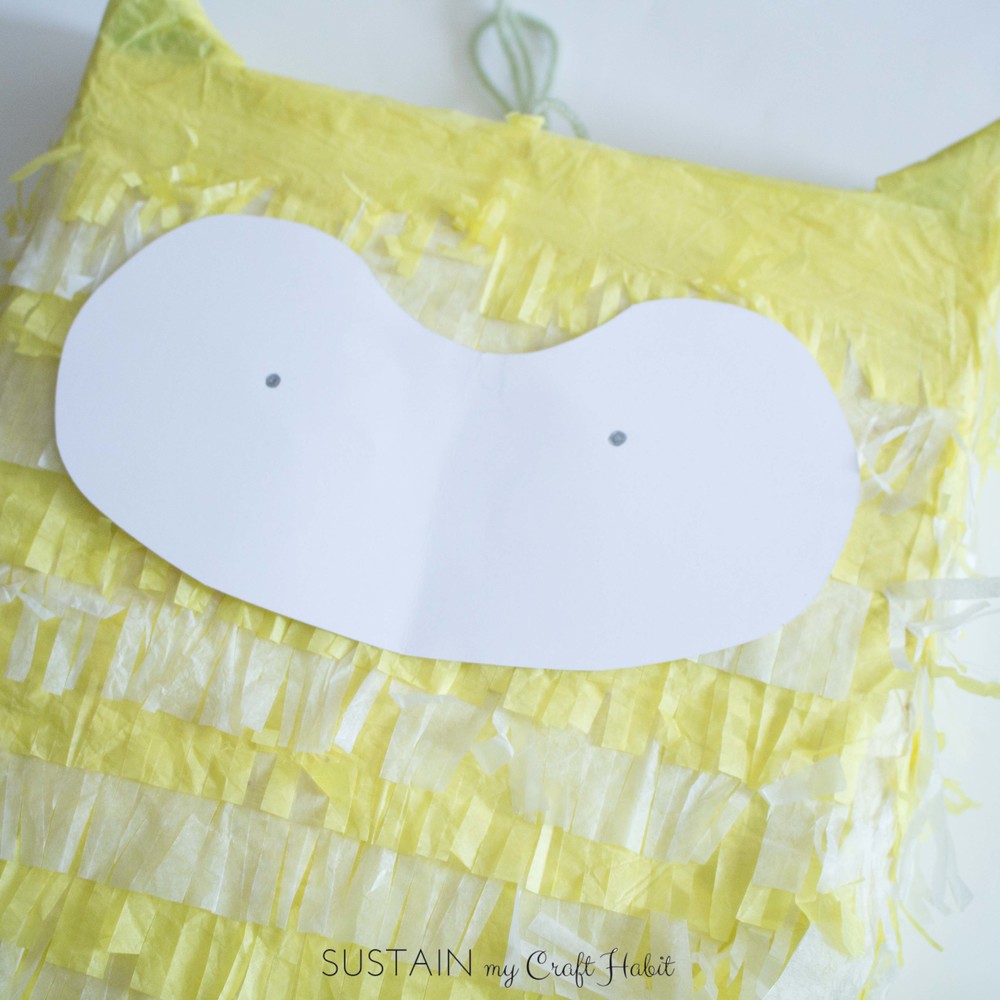
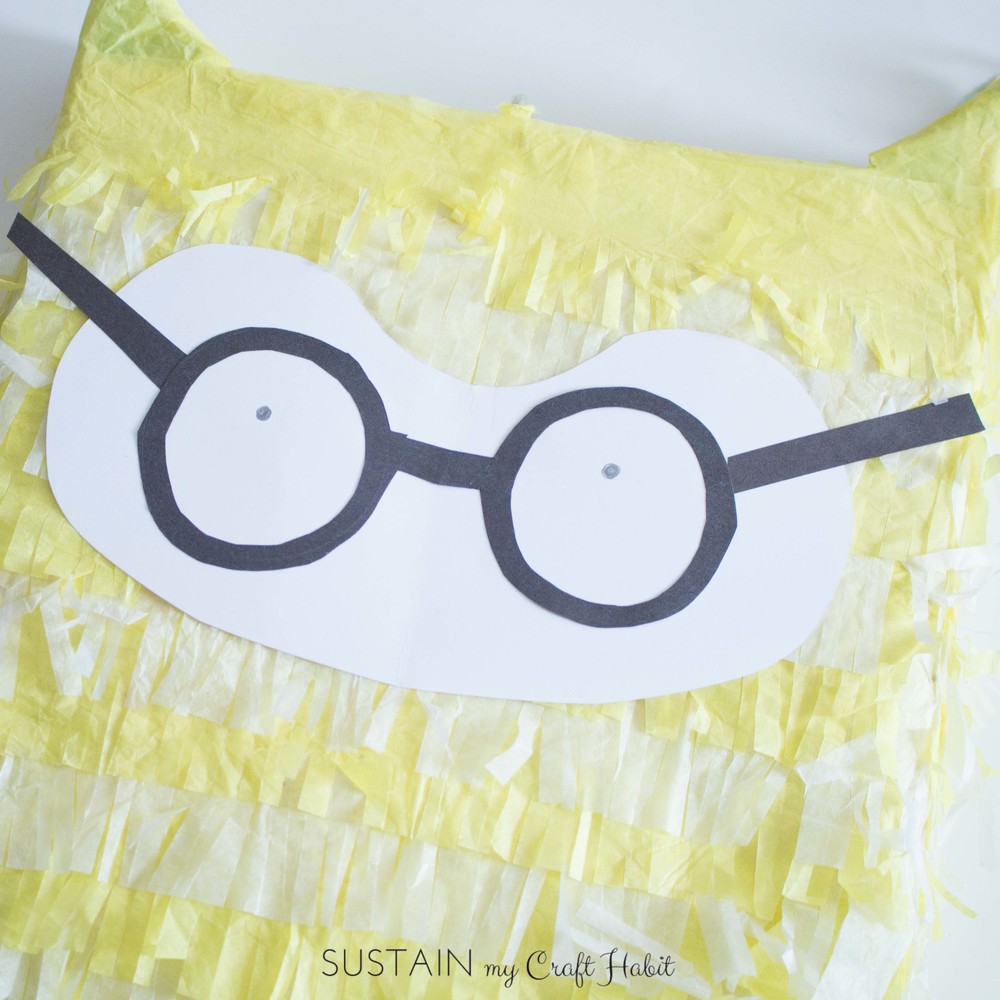
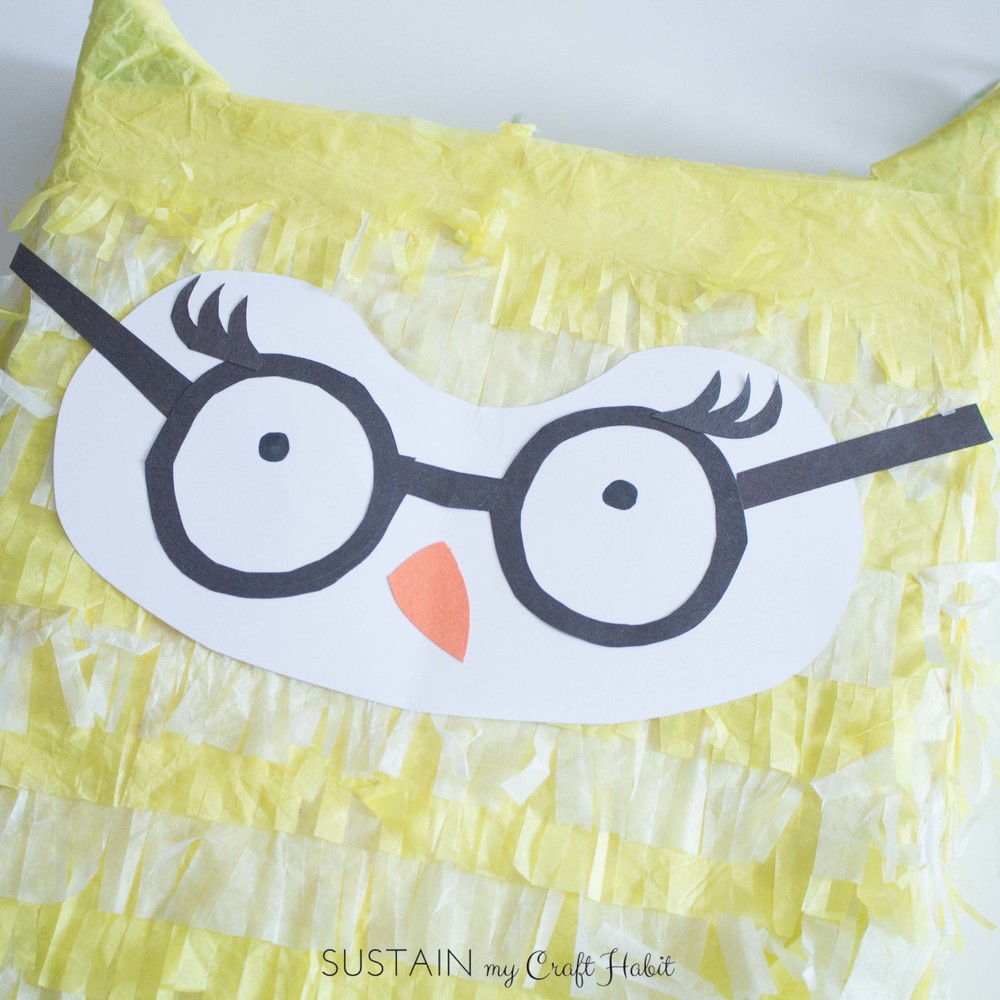
6. Print the template onto a sheet of white paper. Cut out the “face” piece and glue onto the box, about two inches below the top edge. Using the template, cut out the glasses from black cardstock and beak from orange cardstock (could also just draw it on with an orange marker). Add the eyelashes for a girl owl. You’re done!


These DIY pinatas are not just for a girl’s or boy’s owl birthday party but would be great for a baby shower, graduation party or any woodland-themed event. Just change up the yellow tissue paper for blue, pink, black or brown (is there brown tissue paper?).
Have you ever hosted an owl birthday party or other owl-themed party? Check out some of these other birthday party ideas, such as a picnic birthday!


event company singapore
Friday 17th of June 2016
Well this is very creative blog that gives the thoughts about the birthday party planning which is very interesting and very favorites to the people. I am falling love in it so thank you so much for sharing!
Kate Fabrown
Wednesday 24th of February 2016
This is perfect for my son's upcoming b'day - he loves owls! I love the clear step-by-step photos, thanks for the inspiration :)Kate F
Laurie
Tuesday 19th of January 2016
Cereal box?! Wow, adorable! Thank you for sharing with us at Snickerdoodle Sunday! Pinned and tweeted to share :)~LaurieMyHusbandHasTooManyHobbies